
Token Plan Enterprise Quick Start
After the enterprise administrator completes the purchase, adds members and assigns seats, members can obtain their access details and call models.
Step 1: Subscribe to Token Plan Enterprise
- Go to the Token Plan Enterprise purchase page.
- Choose the billing cycle and plan tier, fill in the number of seats for each tier, confirm the order and complete the payment.
- The subscription takes effect immediately after the payment succeeds.
Step 2: Add Members and Assign Seats
- Go to Member Management in the left navigation and add the enterprise members who need to use Token Plan; you can skip this if the members already exist.
- Go to Token Plan > Enterprise Subscription, select unassigned seats in seat management, and assign seats to the corresponding members.
- Each seat can only be assigned to one member at a time. After assignment, the member can use the plan quota attached to their seat.
Step 3: Obtain Your API Key and Base URL
- Members with an assigned seat go to Token Plan > My Subscription.
- Generate and copy your dedicated API Key in the Configuration area. Keep the full Key safe and do not make it public or share it.
- Copy the Base URL shown on the page, to be used for later API or client configuration.
text
https://neolink.com/api/v1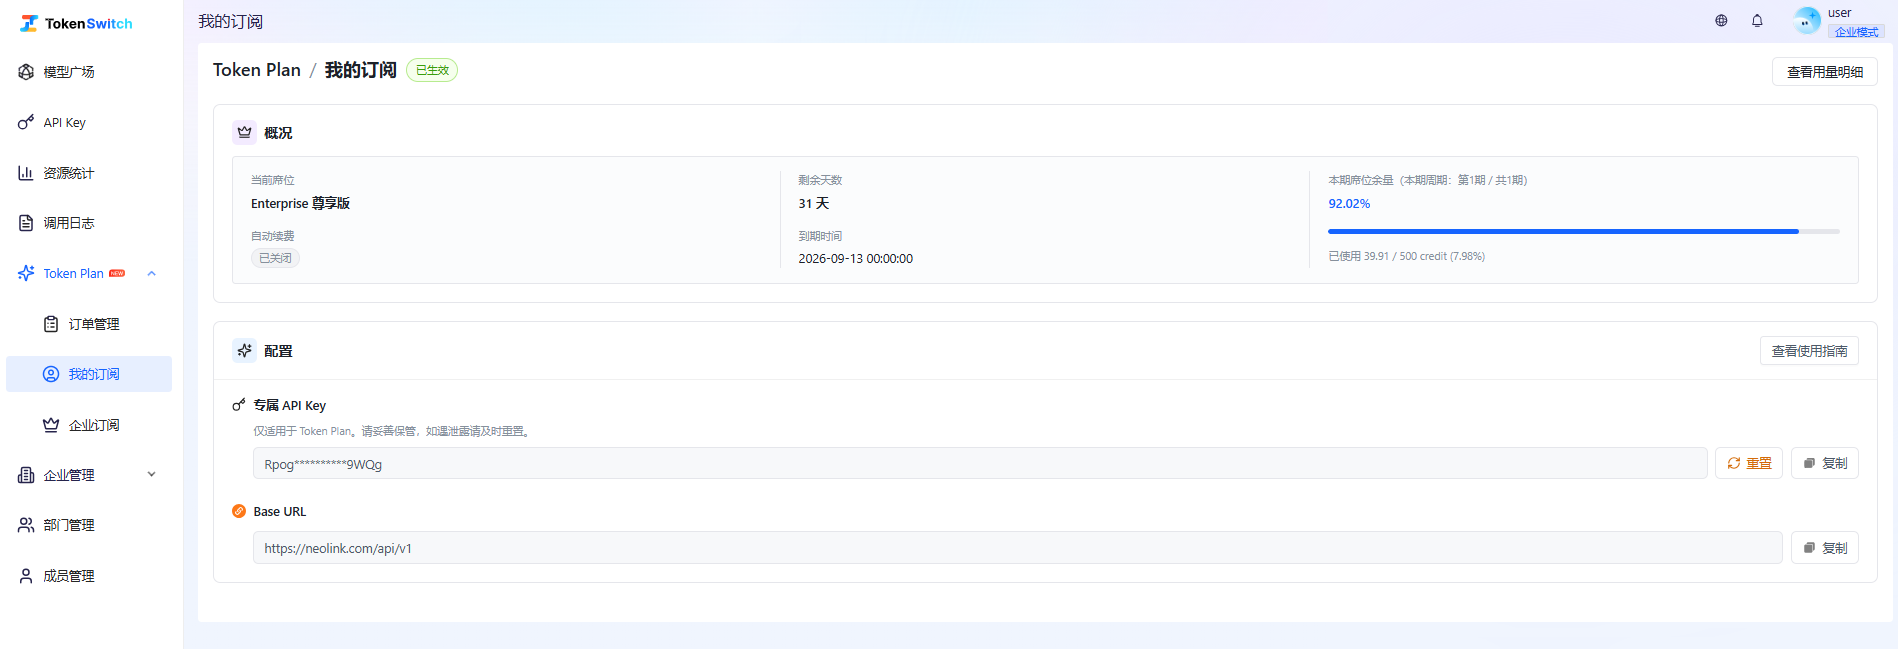
The subscription-dedicated API Key is only for the Token Plan dedicated address. After resetting the Key, the old Key becomes invalid immediately; please update all calling configurations accordingly.
Step 4: Make Your First Call
Replace the API Key and model name in the example below with your own configuration, then make the request. The model in the request must be a model supported by your current plan.
bash
curl https://neolink.com/api/v1/chat/completions \
  -H "Authorization: Bearer <YOUR_TOKEN_PLAN_API_KEY>" \
  -H "Content-Type: application/json" \
  -d '{
    "model": "deepseek-v4-pro",
    "messages": [{"role": "user", "content": "Hello"}]
  }'
After a successful call, you can check quota changes and usage details in My Subscription. For more parameters and client configuration, see the Model API Documentation and the Client Integration Guide.